Introduction to the Dark Skies of Western Australia
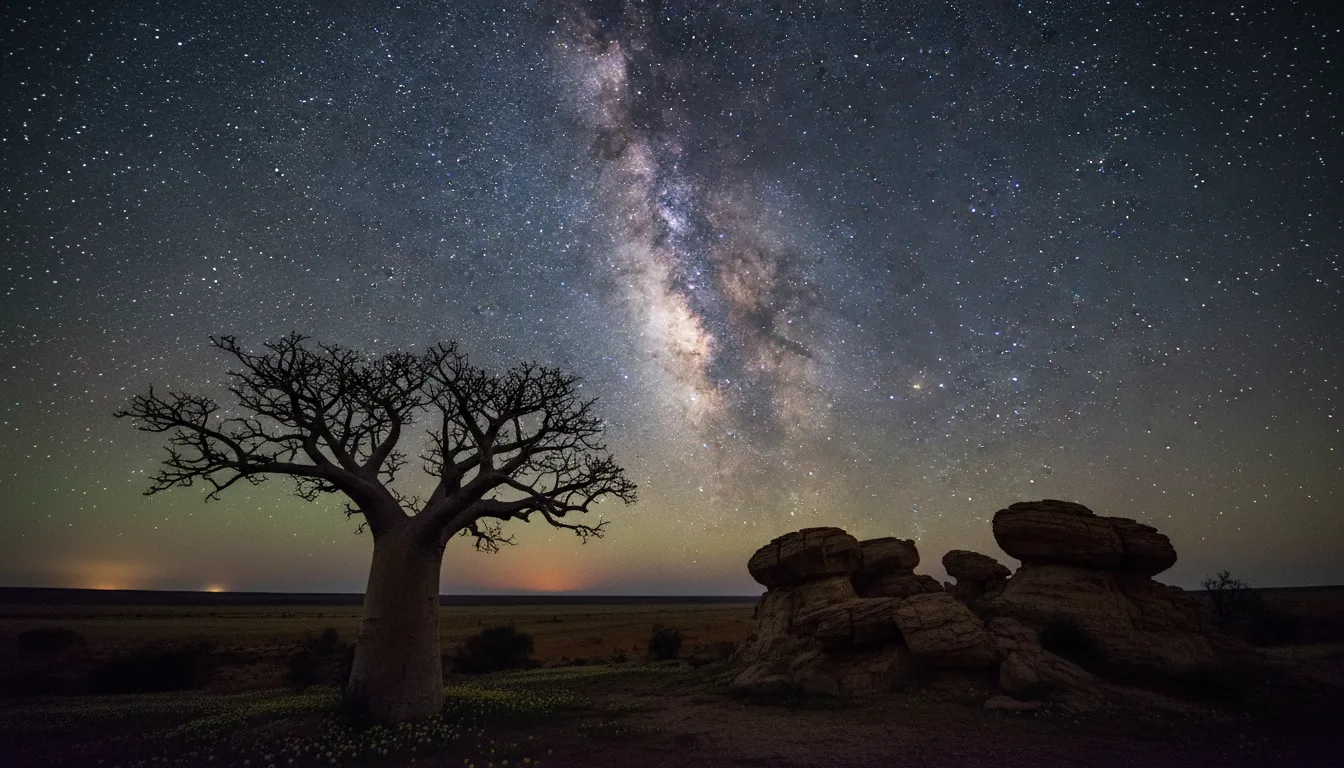
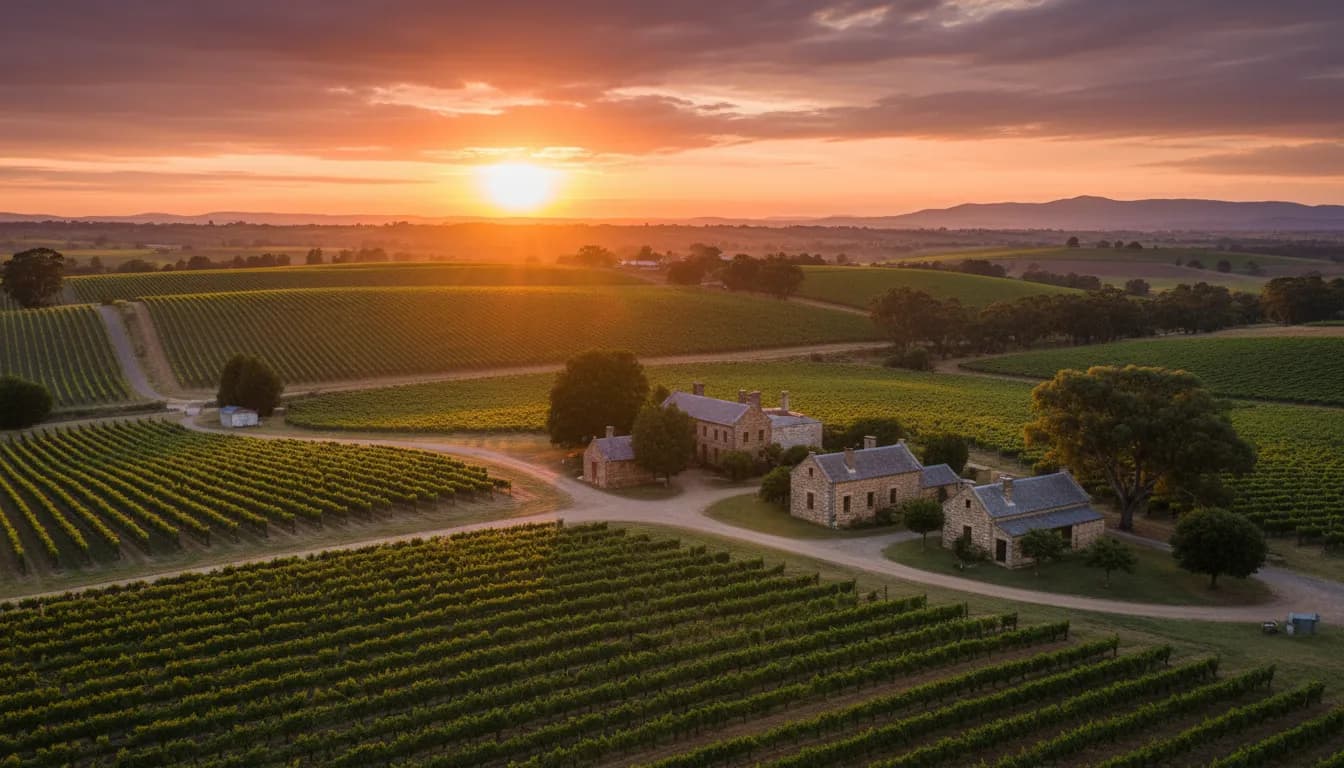
Western Australia, with its vast and sparsely populated landscapes, offers an unparalleled canvas for night sky photography. Beyond the bustling energy of Perth, a world of profound darkness unfolds, revealing celestial wonders that captivate both the seasoned photographer and the culturally curious explorer. This article delves into advanced techniques for capturing the magic of Perth's famous landscapes under the blanket of night, transforming ordinary scenes into extraordinary visual narratives.
Our journey with MLifeOn often takes us to places where nature's grandeur meets deep cultural resonance, and the night skies of Western Australia are no exception. Here, ancient Aboriginal stories are etched into the constellations, making each photographic venture a step into a living, breathing history. We’ll explore not just how to capture these scenes, but why they hold such profound significance, connecting technical prowess with the soul of discovery.
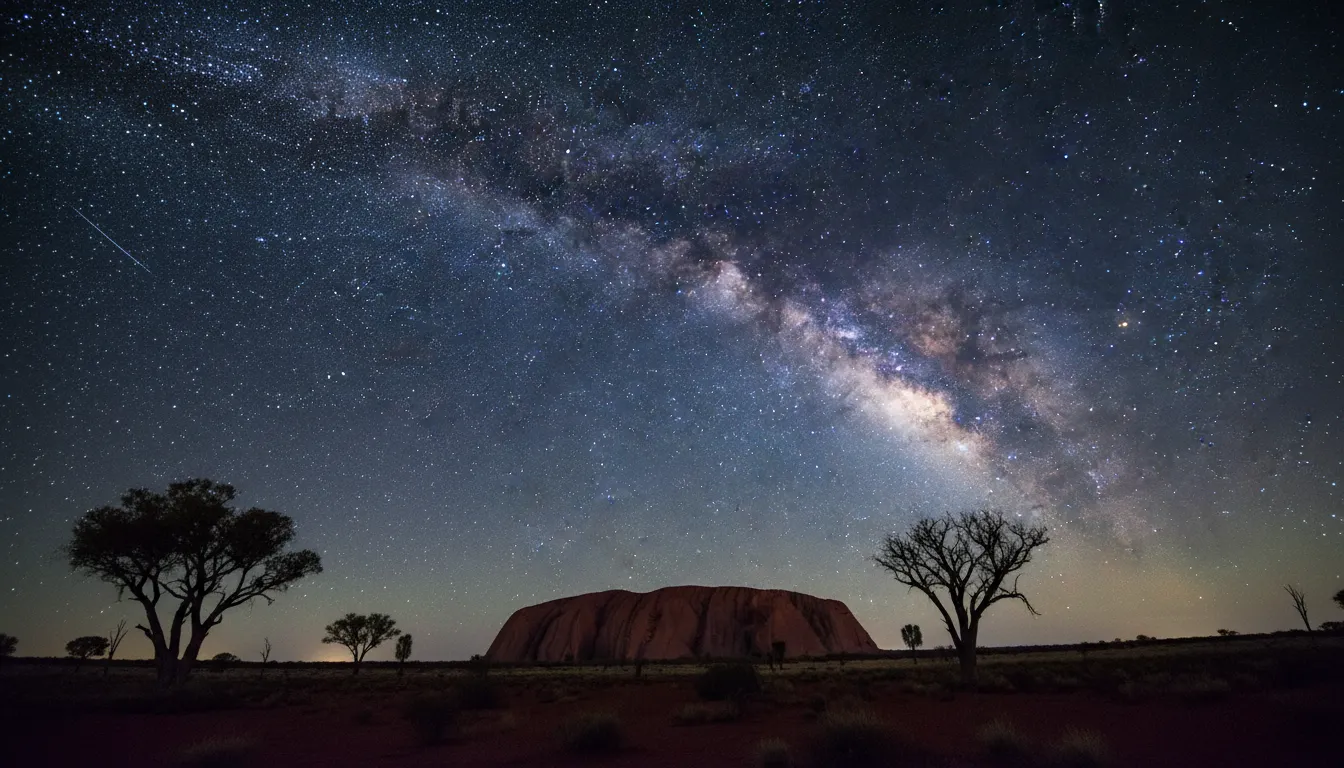
The transition from day to night in these remote areas is more than just a change in light; it's an immersion into a different dimension of perception. The absence of urban light pollution unveils a universe teeming with stars, nebulae, and the majestic sweep of the Milky Way, inviting us to look up and truly experience the cosmos. This article serves as your comprehensive guide to mastering advanced night photography techniques, ensuring your images tell a story as vast and timeless as the universe itself.
Light Painting at the Lake Clifton Thrombolites
One of Western Australia’s most unique geological marvels, the Lake Clifton Thrombolites, provides an extraordinary subject for advanced night photography, especially when combined with the artistic technique of light painting. These ancient, living rock formations are among the oldest life forms on Earth, offering a tangible link to our planet’s primordial past. Photographing them at night allows us to illuminate their intricate structures and highlight their otherworldly presence against a starry backdrop.
My own experiences exploring ancient landscapes, from the petrified forests of Patagonia to the volcanic fields of Iceland, have taught me that the oldest natural wonders often reveal their true character under the cloak of darkness. The thrombolites, resembling miniature alien cities, take on an entirely new dimension when selectively illuminated, allowing their textures and forms to emerge dramatically from the shadows. This is where light painting becomes an indispensable tool, transforming a static scene into a dynamic, interpretive artwork.
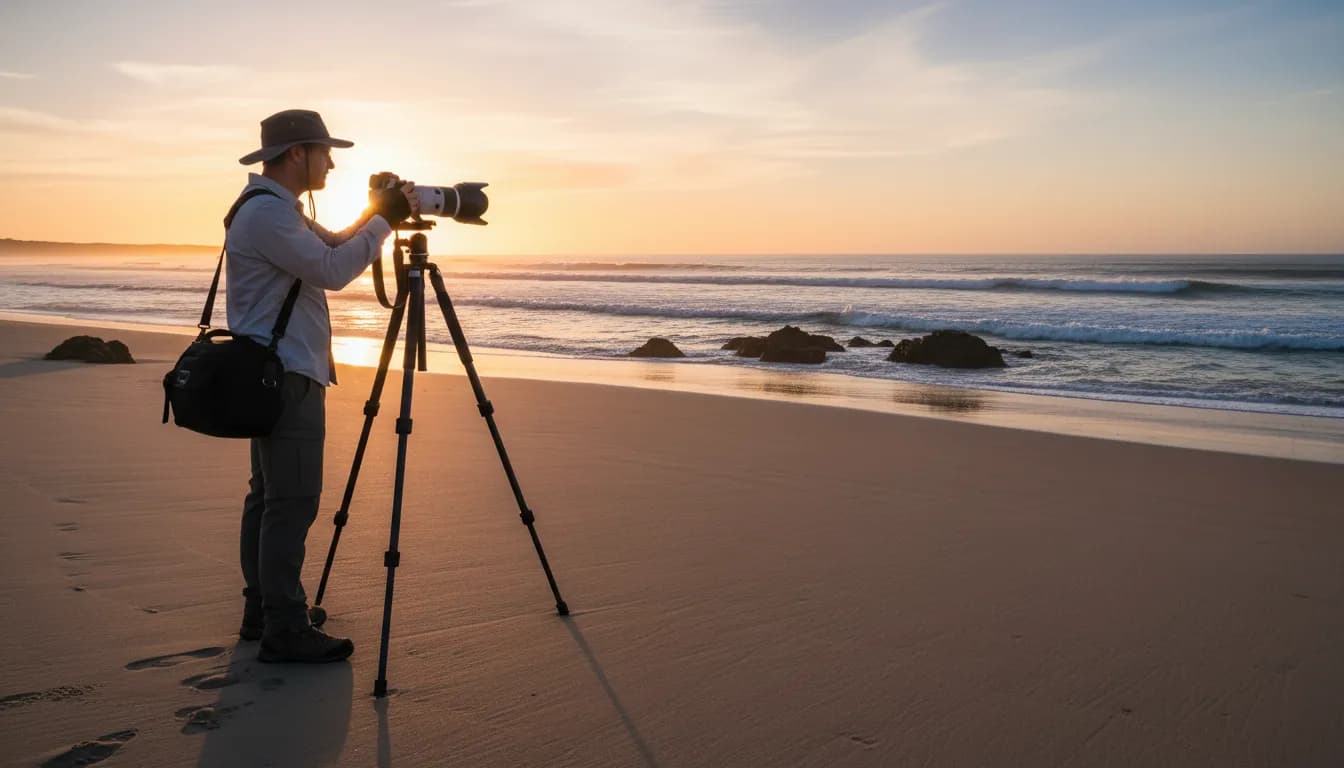
To begin, a sturdy tripod is non-negotiable, providing the stable platform required for long exposures. Your camera should be equipped with a fast, wide-angle lens, ideally with an aperture of f/2.8 or wider, to gather as much light as possible from the faint stars and foreground. A remote shutter release is also crucial to prevent camera shake during the lengthy exposures.
Setting your camera, you'll typically aim for a high ISO, perhaps between 1600 and 6400, depending on your camera’s low-light performance and desired noise levels. The aperture should be wide open to capture ample light, while your shutter speed will range from 15 to 30 seconds to allow for sufficient light gathering and the execution of your light painting. These settings provide a balanced exposure for both the sky and the foreground, while giving you a window for creative illumination.
The art of light painting involves using a handheld light source, such as a powerful LED flashlight or a small LED panel, to selectively illuminate parts of your scene during the long exposure. For the thrombolites, this means gently sweeping the light across their surfaces, revealing their fascinating textures and shapes. Experiment with different light intensities and movements to create varying degrees of highlight and shadow, adding depth and drama to the scene.
Consider using coloured gels over your flashlight to introduce subtle hues, perhaps a warm amber to evoke the ancient warmth of the Earth, or a cool blue to mimic moonlight. The key is subtlety and control; you want to enhance the scene, not overpower it with harsh, artificial light. Each sweep of light is a brushstroke, painting with photons onto your digital canvas, requiring patience and a keen eye for how light interacts with form.
From a safety perspective, it’s imperative to be mindful of your surroundings at Lake Clifton, especially in the dark. The thrombolites are delicate living organisms, so always stick to designated paths and avoid walking on them. Furthermore, be aware of other photographers who might be in the area, ensuring your light painting doesn't interfere with their long exposures. Respect for the environment and fellow enthusiasts is paramount.
One particular evening, I recall spending hours at Lake Clifton, meticulously painting light onto a cluster of thrombolites that seemed to be reaching for the stars. The challenge was to illuminate them just enough to define their ancient forms without losing the mystical quality of the deep night sky. The resulting images had an ethereal glow, making the thrombolites appear as if they were softly pulsating with life, a powerful testament to their enduring existence. This deep connection to the land and its ancient inhabitants resonates profoundly with MLifeOn's mission to explore authentic cultural stories.

Star Trails and Milky Way Alignment over the Pinnacles
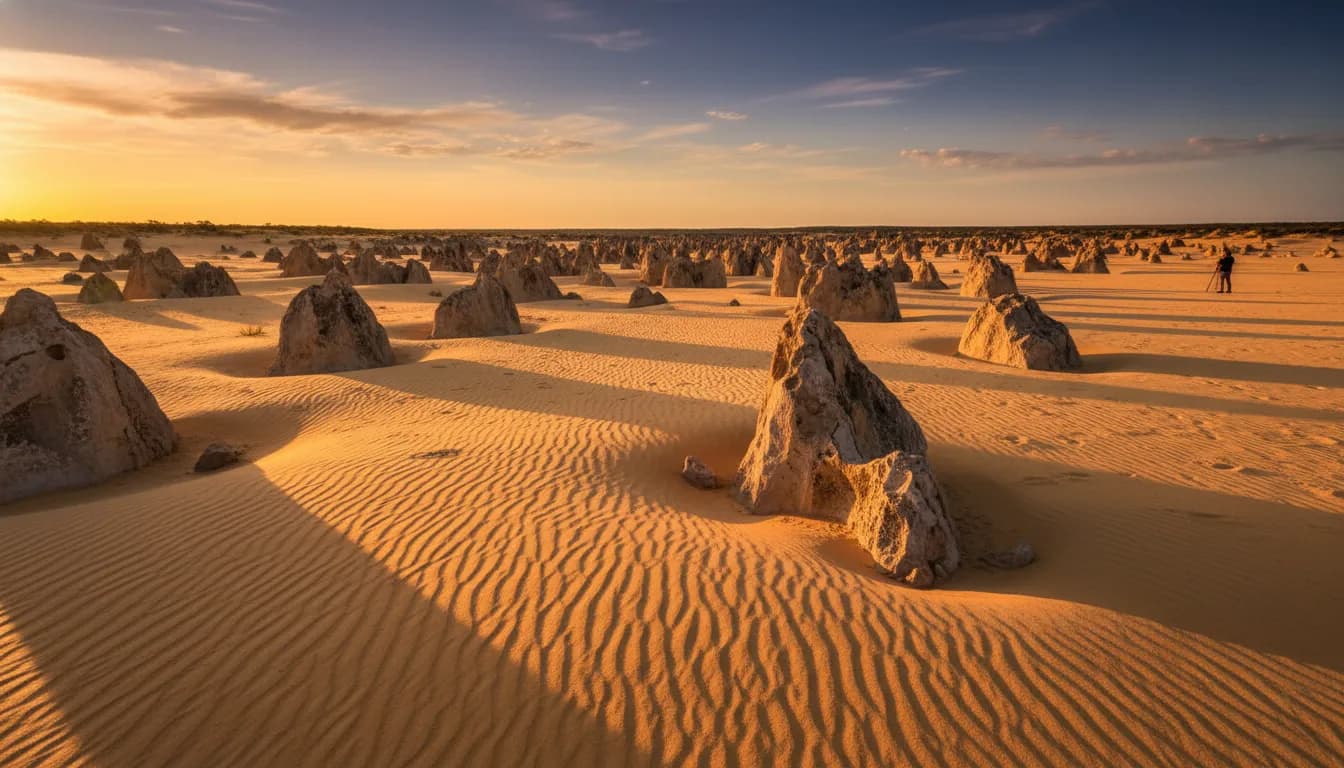
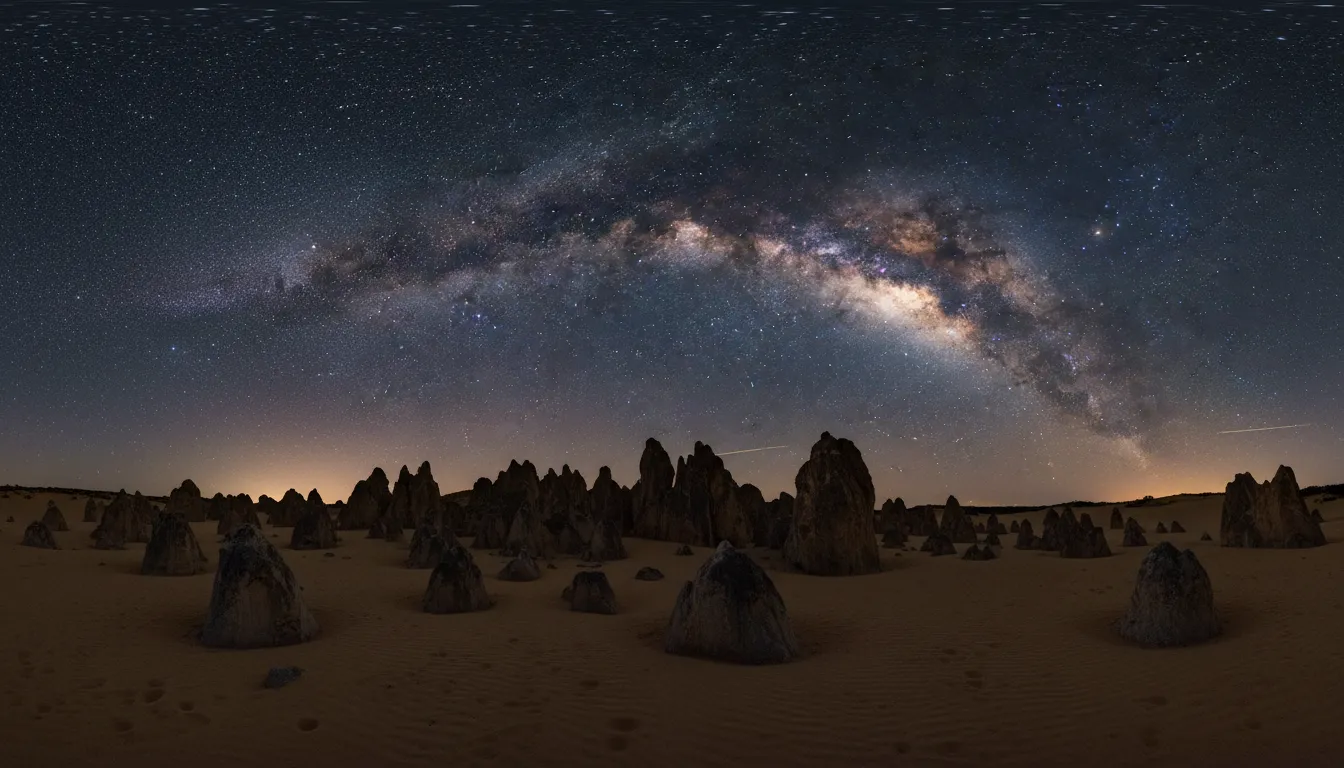
Journeying further north from Perth, the Pinnacles Desert in Nambung National Park presents an otherworldly landscape that is a dream canvas for advanced astrophotography. Thousands of limestone pillars rise eerily from the yellow sand, creating a surreal environment that feels like stepping onto another planet. This unique geological spectacle, combined with Western Australia's pristine dark skies, offers unparalleled opportunities for capturing both mesmerizing star trails and the breathtaking alignment of the Milky Way.
My first encounter with the Pinnacles at night was nothing short of profound; the silence, the crisp air, and the sheer number of stars overhead made me feel incredibly small yet deeply connected to something ancient and vast. It’s in places like these that one truly understands the scale of the cosmos, and the cultural stories embedded within the stars by Indigenous Australians gain a powerful, tangible presence. Capturing this feeling requires a blend of technical precision and artistic vision.
For capturing Star Trails, the objective is to record the apparent movement of stars across the night sky due to Earth's rotation. This technique transforms individual pinpricks of light into elegant, concentric arcs. You'll need a very sturdy tripod, a wide-angle lens (14mm-24mm is ideal), and crucially, an intervalometer. The intervalometer allows your camera to take a series of continuous long exposures over several hours.
Camera settings for star trails typically involve a lower ISO (400-800), a slightly narrower aperture (f/4-f/5.6) to ensure sharpness across the frame, and individual exposure times ranging from 30 seconds to several minutes. The total number of exposures can be anywhere from 100 to 500 or more, depending on how long you want your trails to be. Positioning the North (or South in the Southern Hemisphere) Celestial Pole in your frame will create perfect concentric circles, but even without it, the arcs around a bright star can be stunning, using a prominent Pinnacle as your foreground anchor.
Once you have your series of images, specialized software like StarStax (free) or Photoshop is used to stack them together. This process layers each exposure on top of the last, accumulating the light trails and revealing the full arc of the stars' movement. The result is a single, captivating image that compresses hours of cosmic dance into a single frame, a visual representation of time's passage.
For capturing the majestic Milky Way Alignment, the approach shifts to freezing the galaxy's core with incredible detail. This requires a faster lens, typically f/2.8 or wider, to gather maximum light in shorter exposure times. Planning is paramount here, as the Milky Way core is only visible during certain months and hours, and its position in the sky changes throughout the night. Apps like PhotoPills or Stellarium are invaluable for predicting its exact alignment over the Pinnacles.
Your camera settings for Milky Way shots will be geared towards maximizing light capture while minimizing star trailing. This means a very high ISO (3200-6400 or even higher), the widest possible aperture (f/1.4-f/2.8), and shorter exposure times, usually between 15 and 25 seconds, depending on your lens and focal length. The '500 Rule' (500 / focal length = max shutter speed before trails) is a good starting point, but often a slightly shorter exposure is needed for tack-sharp stars with modern high-resolution sensors.
Compositionally, the challenge is to frame the stunning Milky Way arch with the unique silhouettes of the Pinnacles. Experiment with different foreground elements, using the jagged limestone formations to lead the eye towards the galactic core. Sometimes, a subtle light on the foreground (either moonlight or a very brief, low-power light painting) can help to define the Pinnacles without washing out the stars. It's a delicate balance between foreground interest and celestial grandeur.
I remember one particular night at the Pinnacles, the air was so still and clear, and the Milky Way stretched across the sky like a river of diamonds. I had meticulously planned to align the galactic core over a particularly striking, isolated pinnacle. The hours spent battling the desert wind, adjusting focus in the dark, and patiently waiting for the perfect moment felt like an ancient ritual. The immense satisfaction of seeing that alignment appear on the camera's screen, a fusion of Earth's ancient geology and the universe's timeless beauty, was an unforgettable experience that embodies the spirit of discovery MLifeOn champions.
Advanced Post-Processing for Night Scapes
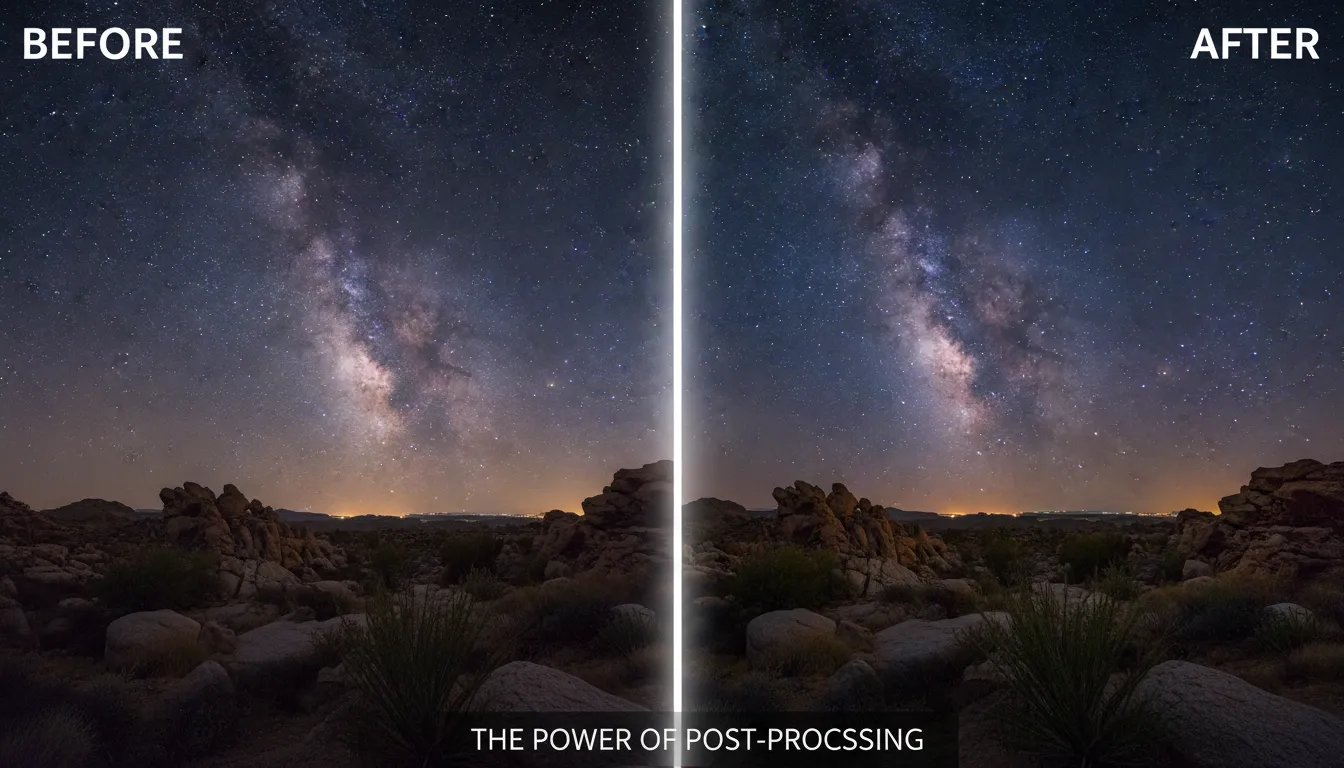
Capturing the raw data of a nightscape is only half the journey; the true magic often unfolds during advanced post-processing. This crucial stage transforms the flat, sometimes noisy, raw files into breathtaking images that convey the depth, colour, and wonder of the night sky. Mastering post-processing techniques is essential for bringing out the hidden details of the Milky Way, enhancing star trails, and seamlessly blending light-painted foregrounds. It's where the technical capture truly becomes an art form, revealing what the human eye often cannot fully perceive in the dark.
My personal workflow, refined over countless hours spent in front of a computer screen, always begins with careful calibration and a disciplined approach to noise reduction. Night photography inherently involves high ISO settings, leading to both luminance and color noise. In Adobe Lightroom or Camera Raw, I start by applying initial lens corrections and then move to global noise reduction, carefully balancing the reduction with the preservation of star detail. For very noisy images, especially those destined for large prints, advanced techniques like stacking multiple identical exposures (dark frames or light frames) in software like Photoshop can dramatically reduce noise without sacrificing sharpness.
One of the most critical steps is contrast and clarity enhancement. The Milky Way, while visible, often needs a gentle boost to make its nebulous structures pop against the dark sky. Using localized adjustments like radial filters or adjustment brushes, I carefully increase contrast and clarity specifically on the galactic core. This helps to separate the bright dust lanes and gas clouds from the surrounding darkness, giving the galaxy a three-dimensional quality. It's a delicate dance; too much can make the image look artificial, while too little leaves it flat.
Color grading is another area where advanced techniques truly shine. Often, light pollution or atmospheric conditions can introduce unwanted color casts. Adjusting the white balance is a starting point, but I often delve into the HSL (Hue, Saturation, Luminance) panel to fine-tune specific colors. Enhancing the subtle reds of hydrogen-alpha nebulae or the blues of reflection nebulae within the Milky Way can add incredible depth and realism. I also pay attention to the foreground, ensuring its colors are natural and complementary to the sky, especially if light-painted.
For images with star trails, post-processing involves not just stacking the images but also refining the overall exposure and contrast of the trails themselves. Sometimes, a subtle glow around the trails can be enhanced, or conversely, reduced if it appears too bright. Blending a single, sharp foreground exposure with the star-trail stack is a common technique to ensure both the foreground and the trails are perfectly rendered. This involves careful masking in Photoshop to combine the best elements of both.
When dealing with light-painted foregrounds, the challenge lies in seamlessly integrating the illuminated foreground with the naturally exposed night sky. Often, photographers will take separate exposures: one for the sky and one or more for the light-painted foreground. In Photoshop, these layers are meticulously blended using luminosity masks or manual masking techniques. The goal is to make the light painting appear natural and integrated, as if the scene was naturally lit, rather than artificially illuminated. This requires careful attention to shadows, highlights, and colour consistency between the layers.
Advanced users might also delve into star masking. This technique involves creating a selection or mask that isolates the stars from the rest of the image. Once isolated, you can apply targeted adjustments to the stars themselves (e.g., reducing their size to make the Milky Way more prominent, or enhancing their glow) without affecting the background sky or foreground elements. This level of control allows for incredibly precise and artistic manipulation.
My personal routine often involves starting in Lightroom for global adjustments and initial noise reduction, then moving to Photoshop for more intricate masking, blending, and selective enhancements. I might use specialized plugins or actions for star reduction or sharpening. The iterative process of refining an image, stepping away and coming back with fresh eyes, is crucial. It’s about revealing the story the stars tell, ensuring the final image evokes the same sense of wonder and connection that I felt standing under that vast Western Australian sky. This dedication to crafting a compelling visual narrative aligns perfectly with MLifeOn’s focus on immersive storytelling and cultural connection, transforming data into unforgettable experiences.
Conclusion
Our journey through the advanced techniques of night photography in Perth's famous landscapes underscores a profound truth: the camera is not merely a tool for capture, but a conduit for discovery. From the ancient, living thrombolites of Lake Clifton to the otherworldly Pinnacles Desert, Western Australia offers an unparalleled stage for photographers seeking to push the boundaries of their craft and connect with the cosmos. Each long exposure, each sweep of light painting, and every meticulous step in post-processing contributes to revealing stories etched in starlight and stone.
Mastering these techniques—from carefully planning star trail sequences to precisely aligning the Milky Way, and from artfully light painting foregrounds to expertly processing raw files—is an evolving process that blends technical skill with artistic intuition. It's about patience, observation, and a deep respect for the environments we photograph. The rewards are not just stunning images, but a deeper appreciation for the intricate beauty of our planet and the vastness of the universe.
For the culturally curious readers of MLifeOn, these nightscapes are more than just pretty pictures; they are windows into ancient landscapes, echoing with millennia of history and Indigenous storytelling. They invite us to look beyond the superficial and engage with the profound, fostering a connection to place that transcends the visual. This journey into the dark skies of Western Australia is an invitation to experience 'More Discovery, More Experience,' revealing the hidden wonders that only emerge when the sun sets and the stars ignite.
We encourage you to embark on your own night photography adventures, to feel the quiet awe of these unique landscapes, and to create your own unforgettable cultural stories under the southern stars. The path to mastering advanced night photography is a continuous learning process, but the moments of profound connection it offers with the natural world are truly priceless.